Buying a car is a big financial investment both in the short and long term. While contacting the professionals to carry out regular vehicle inspections can help minimise the risk of buying a lemon, it’s also important to think about what you can do to maintain your car in the months and years ahead.
Taking your vehicle for a professional service is a natural part of car ownership, but there are also a number of basic maintenance tasks you can do at home. Not only does this help you save money, it’s also a fantastic chance to learn more about the inner workings of your car’s engine. Best of all? You don’t have to be an expert under the bonnet.
Here at Spot On Vehicle Inspections, we have extensive experience with just about all aspects of the automotive industry. We want to use this article as an opportunity to teach you how to perform a simple car maintenance job that can have a huge impact on your engine’s efficiency and performance. Read on to find the exact steps for how to change your vehicle’s engine oil and filter.
-
Acquire Necessary Tools and Equipment
Before you pop the bonnet and get stuck in, you’ll want to ensure you have all the equipment required for the job. The gear list may vary slightly depending on the make and model of your car, but generally speaking you’ll need:
- The right type and correct volume of motor oil. Refer to your vehicle’s owner manual to verify the viscosity of oil you should be using and use this information as a guideline for choosing your product.
- A quality oil filter. Again, consult the owner’s manual for the manufacturer’s recommendations or check with a professional for further advice.
- A funnel.
- Old rags.
- A socket wrench.
- Rubber gloves.
- An oil filter wrench.
- A receptacle to pour the old motor oil into (such as a bucket or purpose-made oil pan).
- A car jack and stands (optional).
-
Remove the Old Oil
Obviously you’ll need to remove the old motor oil before replacing it with the new oil. To do so, start by turning your car on and letting the engine idle for a couple of minutes. This warms up the oil and improves its liquidity so that it will drain out easily.
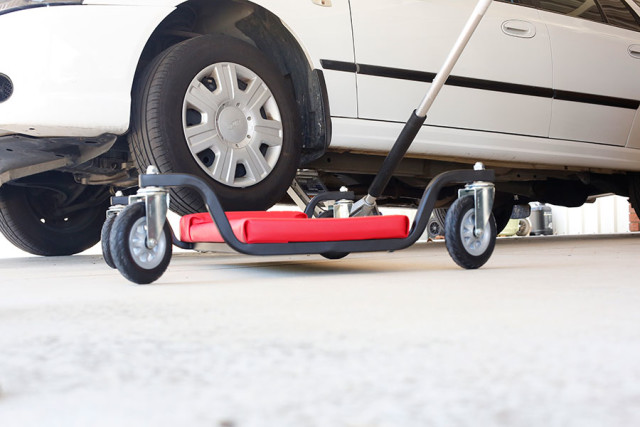
Ensuring the car is parked on a solid, level surface, look for the oil drain plug located under the vehicle. You may need to use car jack stands (never just a jack) if there’s not enough space to get under the car.
Lay the newspaper out beneath the drain plug and position the oil pan on top of the newspaper so that it can catch the old oil. Put on the rubber gloves to avoid getting burned by the oil, which may be quite hot as it pours out. Use the socket wrench to loosen the drain plug, remove the plug and allow the oil to drain out into the receptacle.
After the oil has finished draining out, insert the drain plug and tighten it with the socket wrench, being careful to avoid over tightening it.”
-
Replace the Old Oil Filter
Once you’ve successfully drained the oil, it’s time to replace the old oil filter. Begin by leaving the receptacle in place to catch any residual oil drips.
Next, grab the oil filter wrench and use it to remove the filter. Use the rag to wipe clean the mounting surface on the engine.
It’s vital to lubricate the new oil filter before installing it. Lightly coat the gasket (the rubber seal on the new oil filter) with fresh oil to reduce the risk of the gasket cracking, which may lead to an oil leak.
Most oil filters can be installed and tightened by hand, but have a look at the new filter’s instructions to double check.
-
Pour in the New Oil
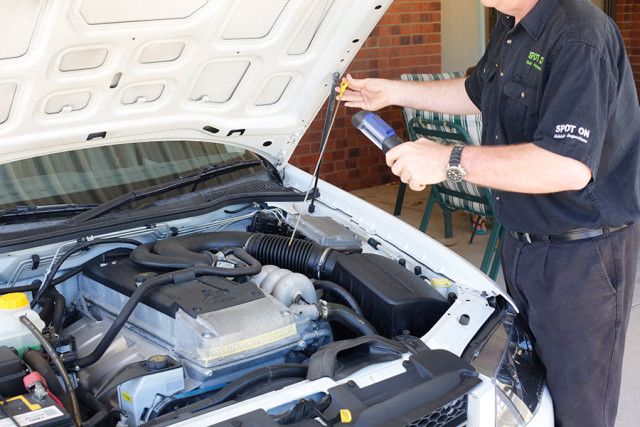
After all your prep work, now comes the exciting part: adding the new oil. Remove the oil cap (typically denoted by an oil lamp and drop of oil) and, using the funnel, pour the new motor oil in. Continue pouring until you’ve added the correct amount as per the owner’s manual.
Replace the oil cap and tighten it by hand, and use the rag to mop up any oil that may have spilled during the pouring process. Remove the newspaper and receptacle from underneath the car, take the vehicle off the jack stands (if you used them) and turn the engine on. Let the engine run for a few minutes to allow the new oil to circulate through the engine.
Finally, turn the car off and use the oil dipstick to verify the oil levels are correct.
-
Clean Up the Leftover Oil
The hard work is out of the way, all that remains now is the clean up. Transfer the old motor oil from the receptacle to a used oil container and wrap the old oil filter in a plastic bag.
In the interests of protecting the environment, recycling is hands down the best way of getting rid of your old oil. Australia generates about 250 million litres of used oil annually, according to the Department of the Environment and Energy, so it’s important to dispose of your old oil responsibly. There are a number of recycling stations located in Perth that will be more than happy to help you recycle your used oil.
Keep a record of the date and current mileage on your car so you will know what the next oil change will be due. Most people should aim to change their oil every 8,000 kilometres, though this can vary depending on the vehicle and driving environment.
Are you in the market for a new car? Spot On Vehicle Inspections offer comprehensive pre-purchase car inspections in Perth and surrounds. Enjoy the peace of mind that comes with gaining professional insight into the true condition of your new (or new-to-you) car. Book your vehicle inspection today.


